Setting an expiration date and time allows you to have contacts answer before a certain date and time. If a contact wants to start the survey beyond this date, they will see the message that the survey is closed. For other contacts, though, the survey will still be available.
This option is interesting if you conduct, for example, a continuous customer satisfaction survey to evaluate a transaction and you want contacts to give feedback fast and therefore limit the possible time frame.
You can add an expiration date in different ways. When an expiration date has already been added to a contact, you can still change it later.
Add an expiration date while importing the contacts
It’s quick and easy to set your expiration date at the same time as importing the contacts.
- Sign in to CheckMarket.
- Import your contacts as usual until you get to step 3. Options.
- Set an invitation date if you like.
- Now set the number of days after which the survey invitation will expire. This number of days will be counted as of the actual invitation date.
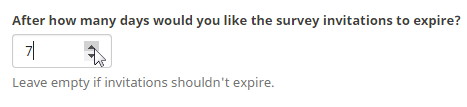
For example: if your invitation is sent on July 21 and your expiration date is set to 5 days, the invitation will expire on July 26, at exactly the same time.
- Click on Continue
- Save the import settings if you like. Both the invitation date and expiration time will be saved as well.
- Click on Continue and finally on Start import.
Add or change an expiration date for one contact
When you wish to change the expiration date at a later point in time, or you forgot to add one in the first place, you can still add it via the contact overview of the survey.
- Open the survey’s contact overview (via Distribute > Contacts).
- If the column Expires isn’t visible yet, click on
 and tick the box next to Expires.
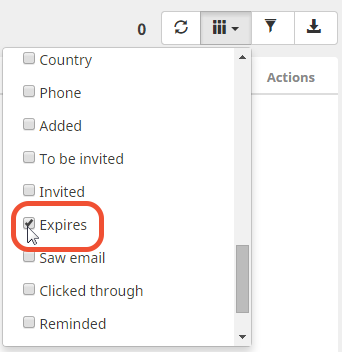
- The column containing the expiration date appears immediately.
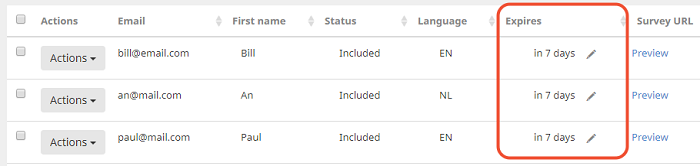
- Now click on the pencil next to a contact’s expiration date. The screen containing all of their contact details now opens.
- Change the date and time next to Expires. In order to do so, simply click on the calendar icon and select a new date and time.
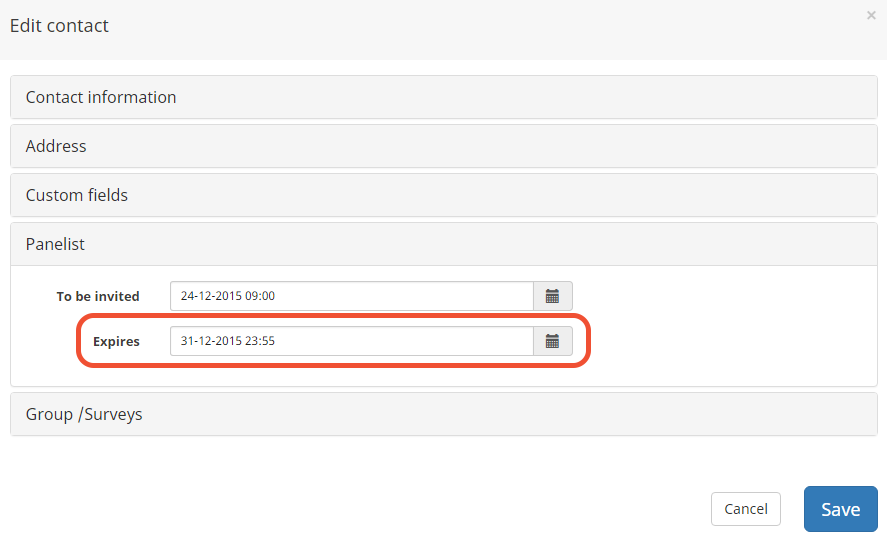
- Click on Save.
Repeat these steps for each contact you wish to change the expiration date for. This date can be moved both to a later and an earlier point in time.
Leave a Reply