There is no way around social media anymore these days. Posting your survey on social media can help you reach your targeted audience and increase your response rate. With our survey tool, you can easily share your survey to Facebook, LinkedIn, Twitter and WhatsApp.
To make your survey stands out more on social media, it is possible to set an image, description and title that will be used in your social media post or on messaging platforms. You can easily do this without having to leave our tool. With an image, your survey will grab the attention of the audience and the description can be used to encourage people to share the survey or talk about an incentive they might get from participating in your survey.
Once you have selected an image, we will place the correct Open Graph HTML markup so that when you share your survey on a social media platform, they will pick up the image to show alongside your post.
6 tips for an image to share your survey on social media
What is this image and why is it important to choose the right one? This image is shown when you share your survey on social media or in a messaging platform like WhatsApp. It’s similar to the featured image in WordPress. Using an image can increase the shareability of your post and therefore the amount of respondents to your survey. But, to make sure you get the most out of your image, consider the best practices below.
1. Use an image that is relevant
Images can help you stand out on social media, but not every image does the trick. Make sure that the image you share is relevant to the content you’re posting and gives the reader more information about what your survey is about.
2. The size of the image
When selecting an image, keep in account the ideal size, being 1200×628 pixels. If you upload a picture with another size, it will be cropped and might not show what you had in mind.
3. Use a picture with high quality
Yes, we encourage you to use an image when sharing your post on social media or on a messaging platform, but nothing is worse than a blurry picture of poor quality. Check on multiple devices if your image is of high enough quality. If not, change it to an image with more pixels.
4. Customize your image by putting text on it
By putting an image to a post, you’ll increase the engagement, no matter which social media platform you use. But, if you also add some text on the image, this will increase the engagement even more as your post will stand out and people are more likely to read what’s on the picture instead of the associated title and description.
5. Don’t forget about the ownership of the image
Make sure that you only share images you have ownership to. You can create every piece of content yourself, but you can also have a look at websites that have stock photos and work with these images.
6. Spend time optimizing your image to boost engagement
Carefully selecting the image to share will make your content look more appealing and encourage people to stop scrolling. With the right image, you can grab the attention of your audience which will boost your engagement.
Keep these best practices top of mind whenever choosing an image to share your survey on social media or on a messaging platform.
If you want to reach even more people from your targeted audience, you might want to consider social media advertising. Each platform has their own advertising possibilities and they will help you attract the right respondents for your survey.
Steps to add an image, description and title
- Go to your survey.
- Click Settings.
- Click Appearance.
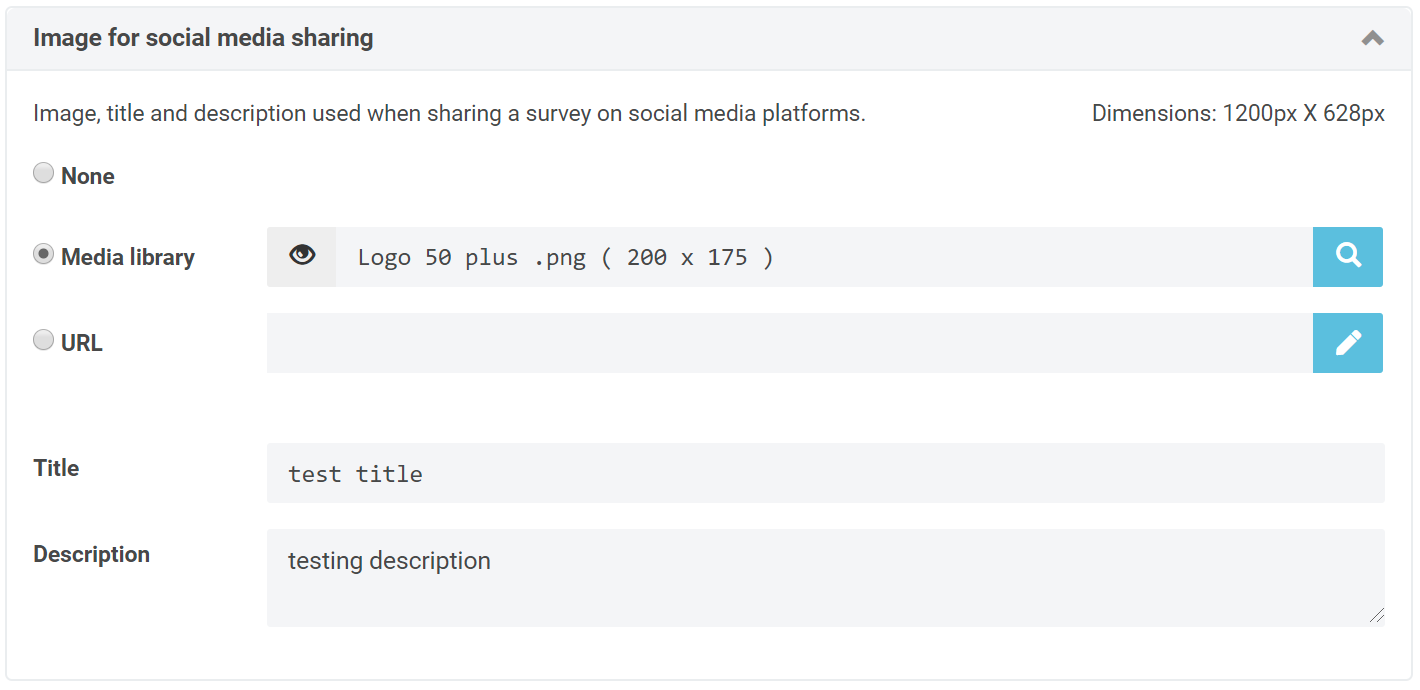
- Click Image for social media sharing.
- Add an image, title and description.
- Click Save.
- Share your survey on social media.
Clearing the cache of the social media platforms
You’ve created your survey and decided to share your survey online, only to realize that you used the wrong image. You quickly change the image and share your content again. But, you still see the old image. How is this possible and what does it mean to ‘clear the cache’?
Social media platforms use a system called caching. Caching means that the meta data of your content is saved for around 30 days, although this time can vary between the different platforms. Social media platforms save this content to decrease the loading time of the different pages and therefore increase the experience for the user, scrolling through their social media.
But, how can you make sure that if you make a change to your content, the right version shows? You can do this by clearing the cache from the platform you’re using. Below, you can find the websites where you can clear your Facebook cache, Twitter cache and LinkedIn cache. After you’ve done this, the last version of your content will show online.
Facebook: Crawler
LinkedIn: Post Inspector
Twitter: Card Validator
So, don’t forget to clear the cache after you’ve made some changes, otherwise the latest version of your content will not show online.
Leave a Reply