Before launching your survey, it is paramount that you test, test, test your survey from beginning to end.
You want to make sure that all aspects of your survey (branching, page display logic, piping, extractions, etc.) are set up correctly and that you have added all necessary questions and answer options to your survey. As long as the survey is still in the status “in development”, all editing options remain available so you can make all the necessary changes.
No results will be recorded while you test your survey, so you can repeat the tests as often as you like. It won’t have any influence on your reports.
There are several ways to test a survey. The approach will depend on the goal of your tests as well as who is testing.
When you want to test your survey yourself, you can test your survey from beginning to end; test only a few pages within your survey; and test your survey pretending to be a contact.
Someone with no access to the CheckMarket survey tool, such as a colleague or client, can also test your survey. In this case, you can send the URL of the preview version; send a preview invitation; and test your survey pretending to be a contact.
Testing your survey yourself
Testing your survey from beginning to end
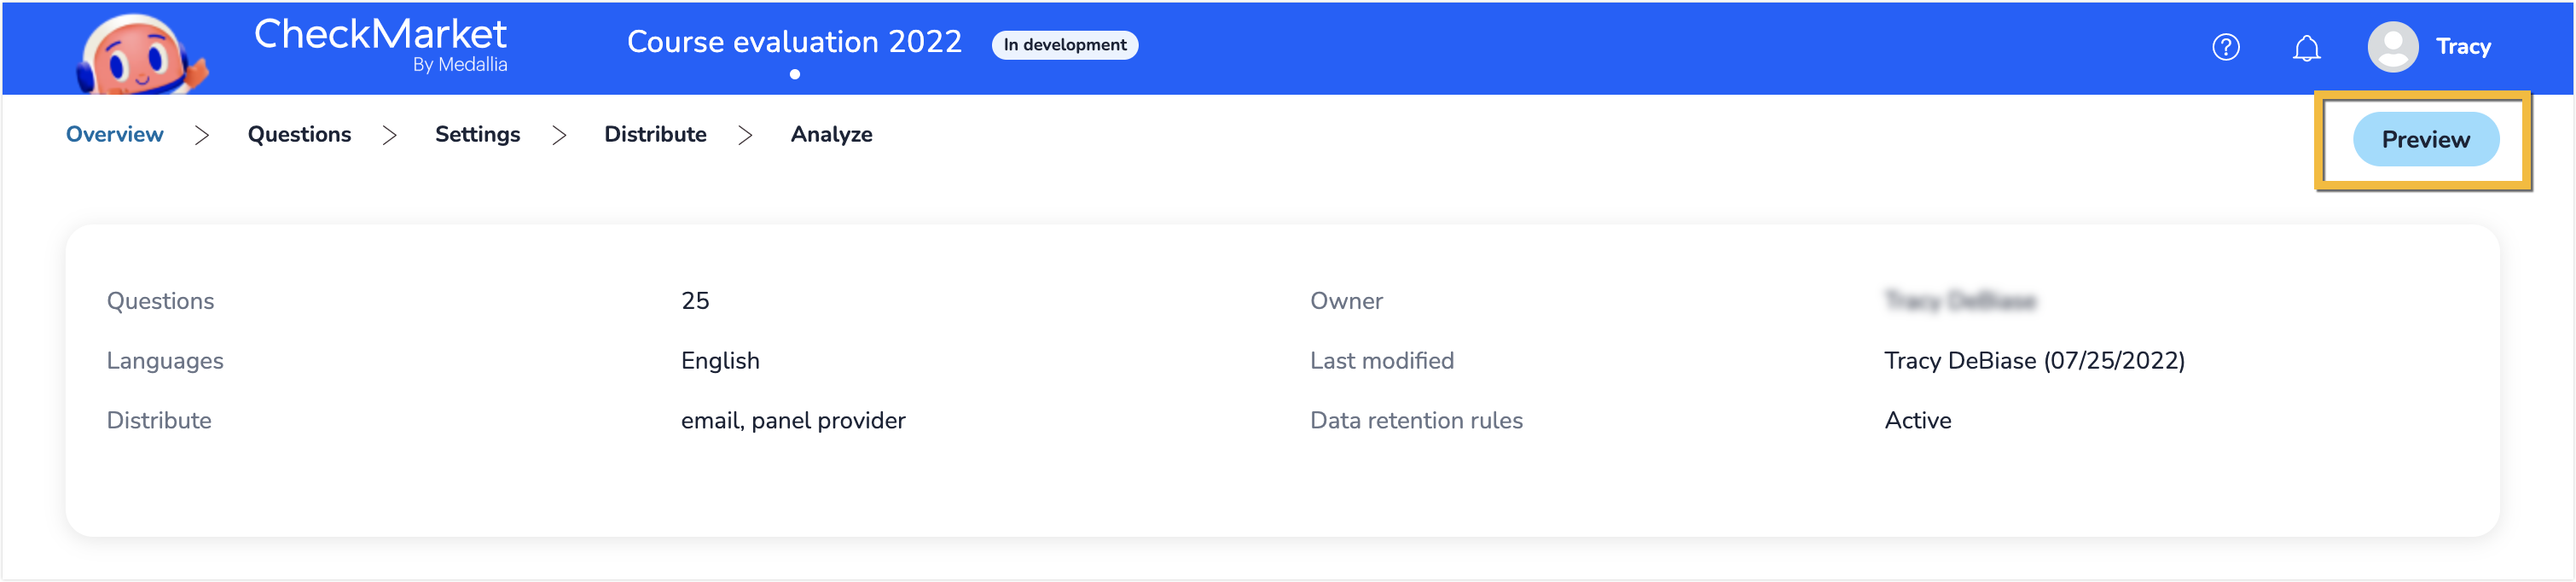
With your survey open, click Preview in the top right corner of the page. The preview will always start at the very beginning of your survey.
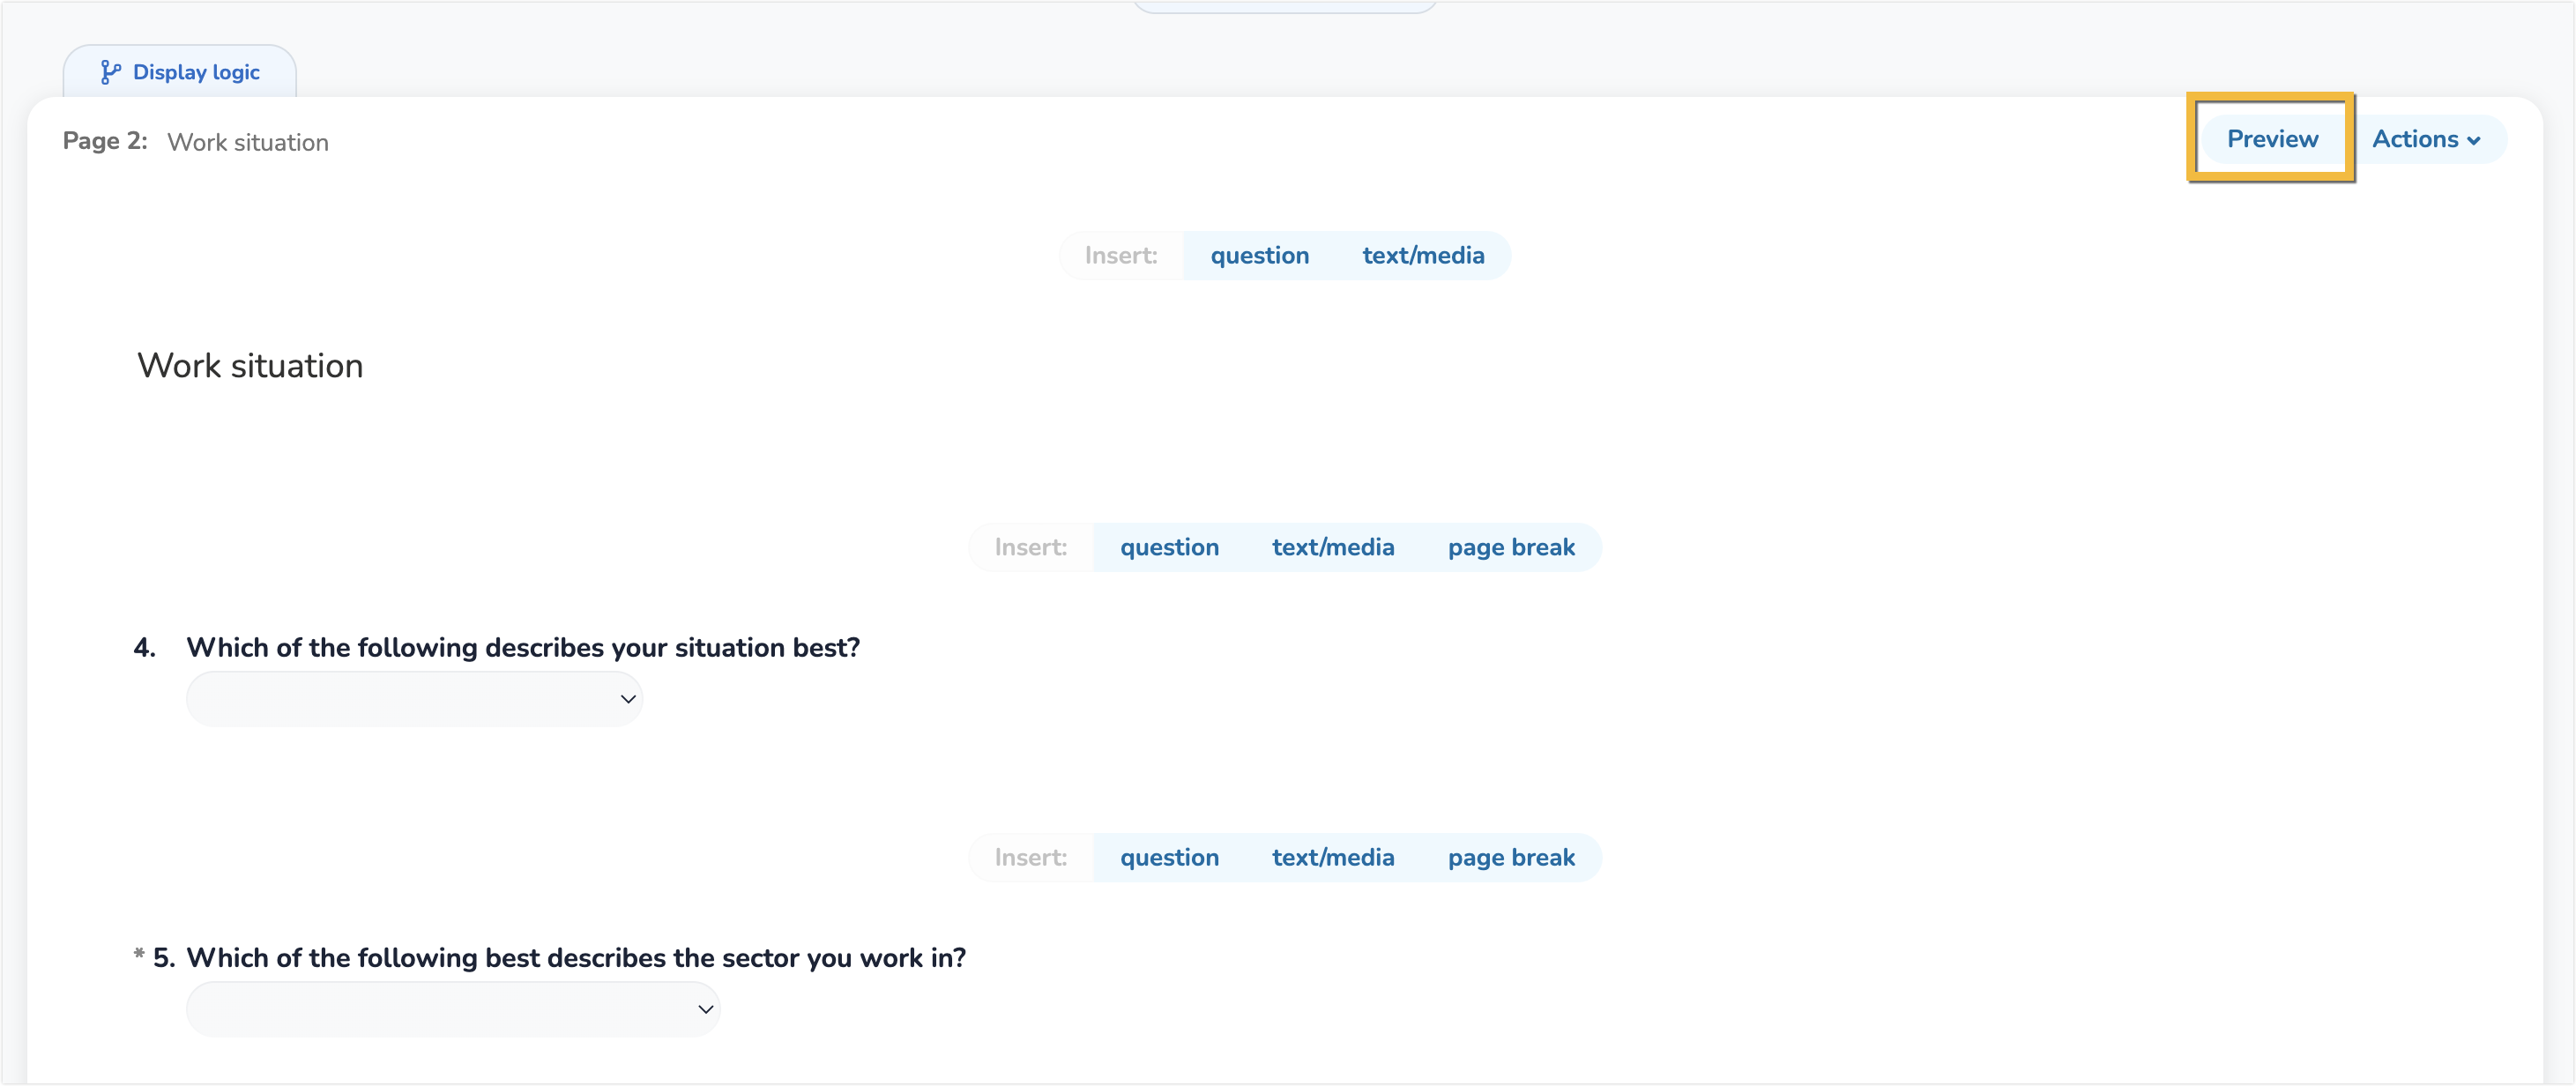
Testing a few pages within your survey
You can test just specific pages within your survey. This is useful when you have a long survey and you only want to check one or two pages on which you have made adjustments. To do this, complete the following steps:
- Open your survey and select Questions from the survey options menu.

- Scroll to the page you want to preview.
Testing your survey pretending to be a contact
If you have branching or page display logic set up and your conditions are based on respondent fields, you can fill out your survey pretending to be that contact. This way, you will immediately know whether your conditions and logic are set up correctly.
Before proceeding with these steps, make sure you have added contacts to your survey that match the conditions added to your logic. As long as your survey isn’t live, contacts won’t receive an invitation.
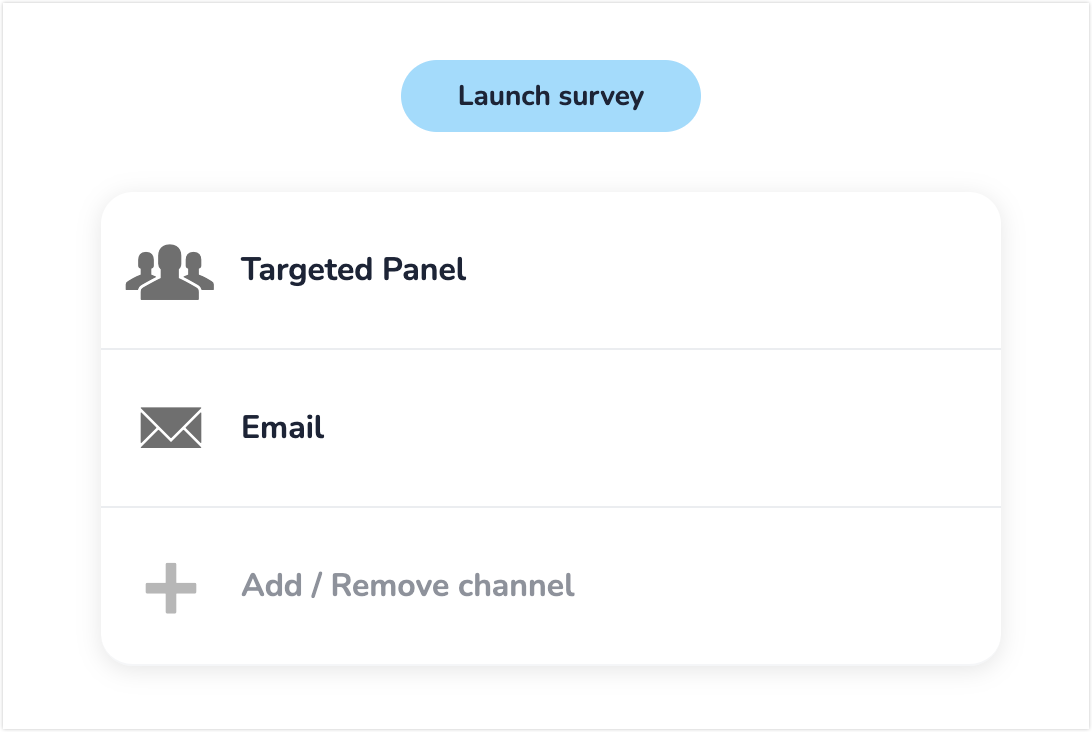
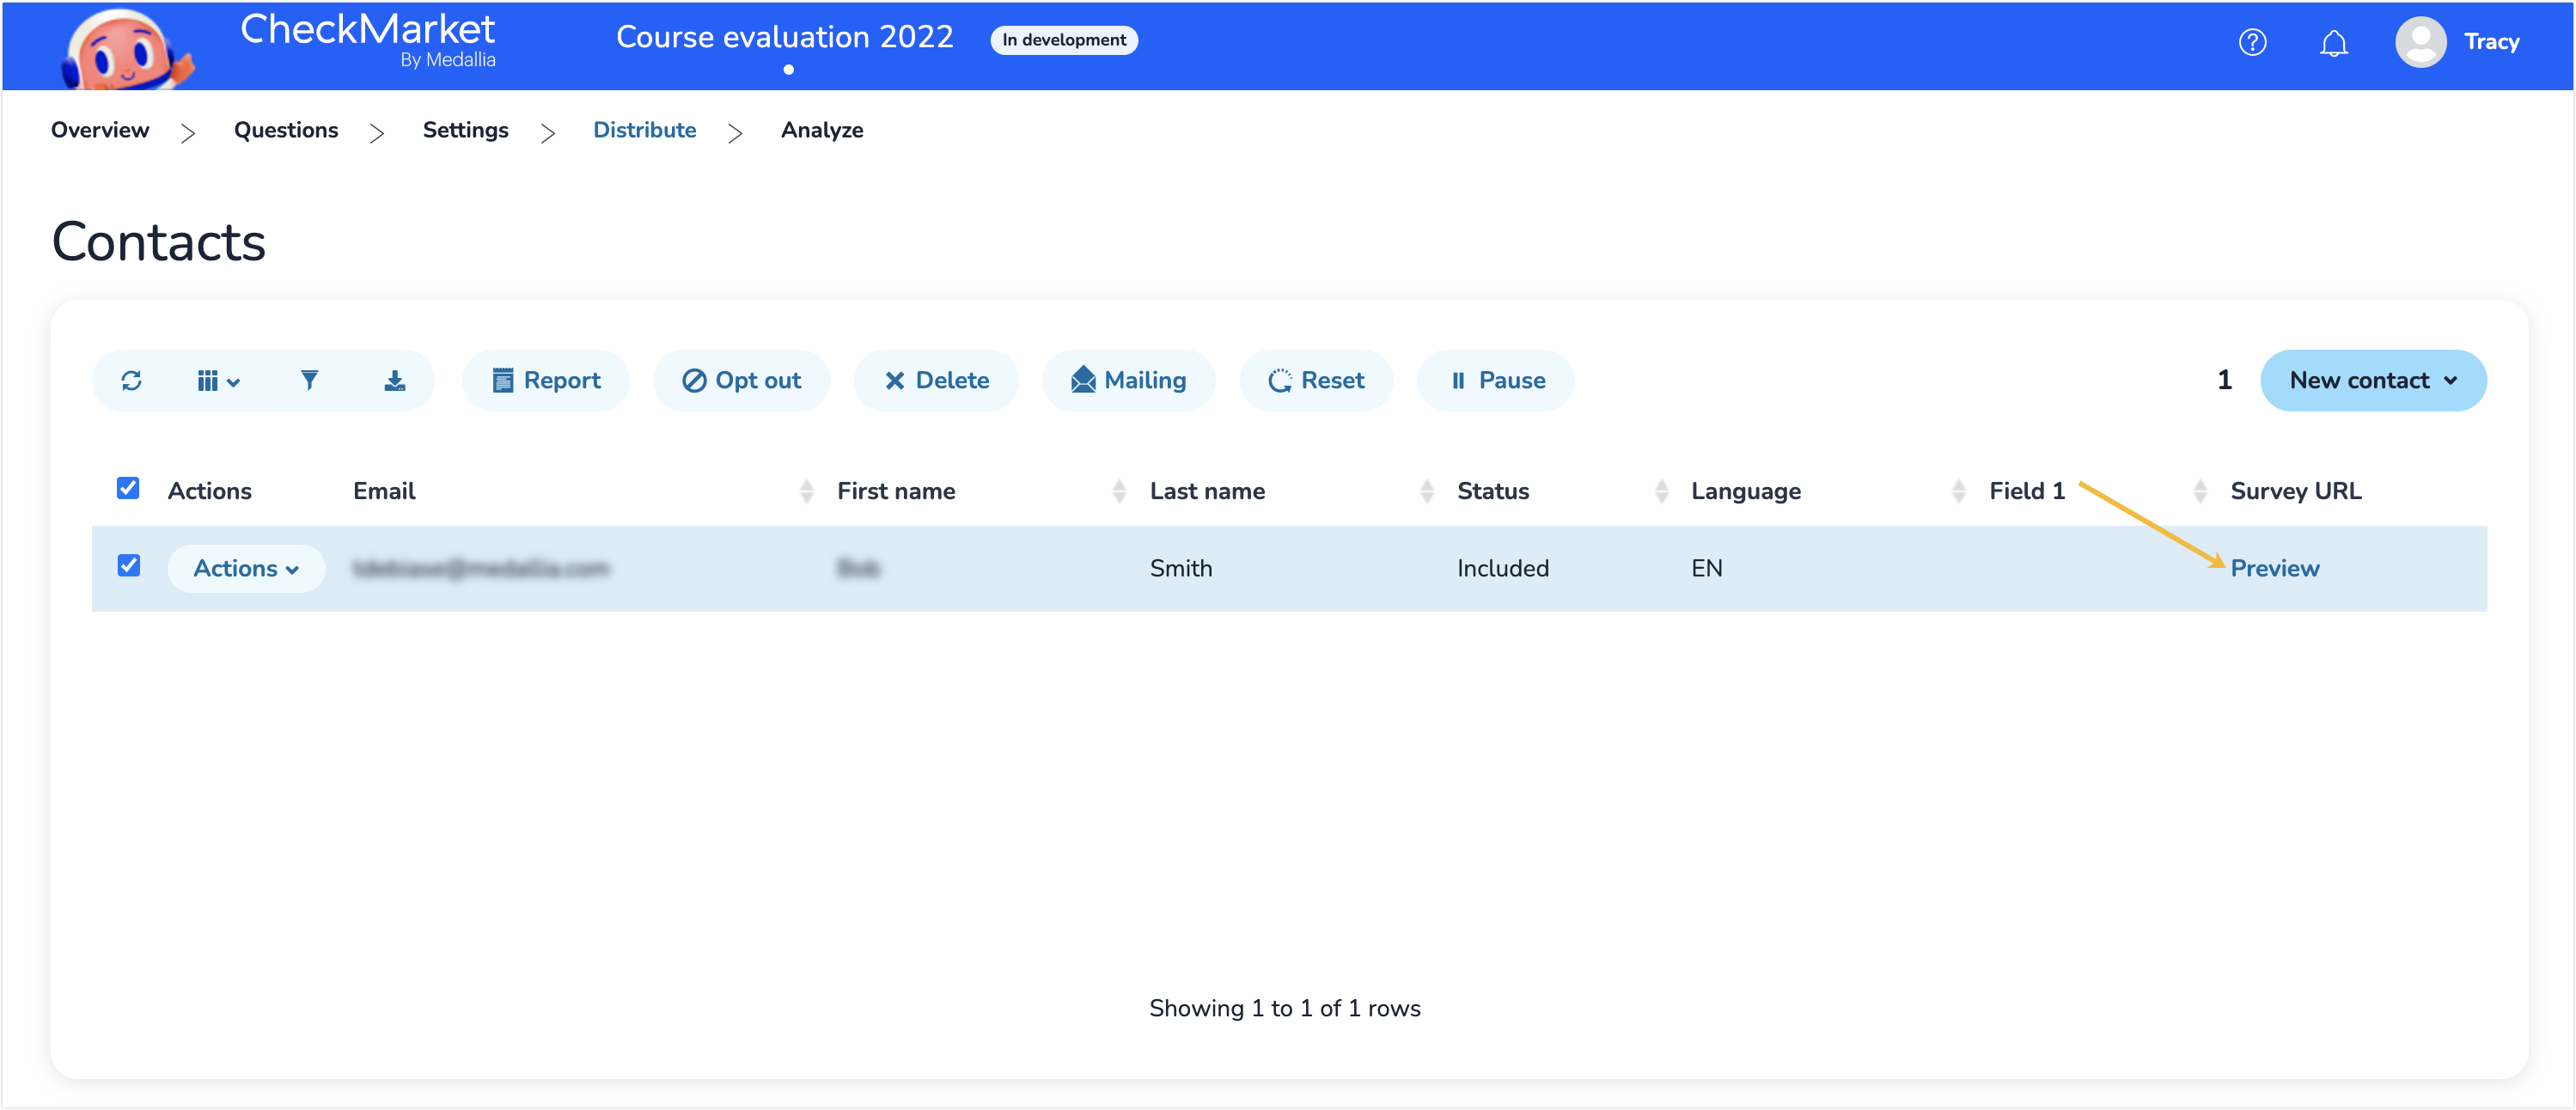
- Open your survey and select Distribute from the survey options menu.

- Select the method for survey distribution. Options that appear are determined by the survey type and include options such as Email, SMS, and Text.
- Select Contacts.
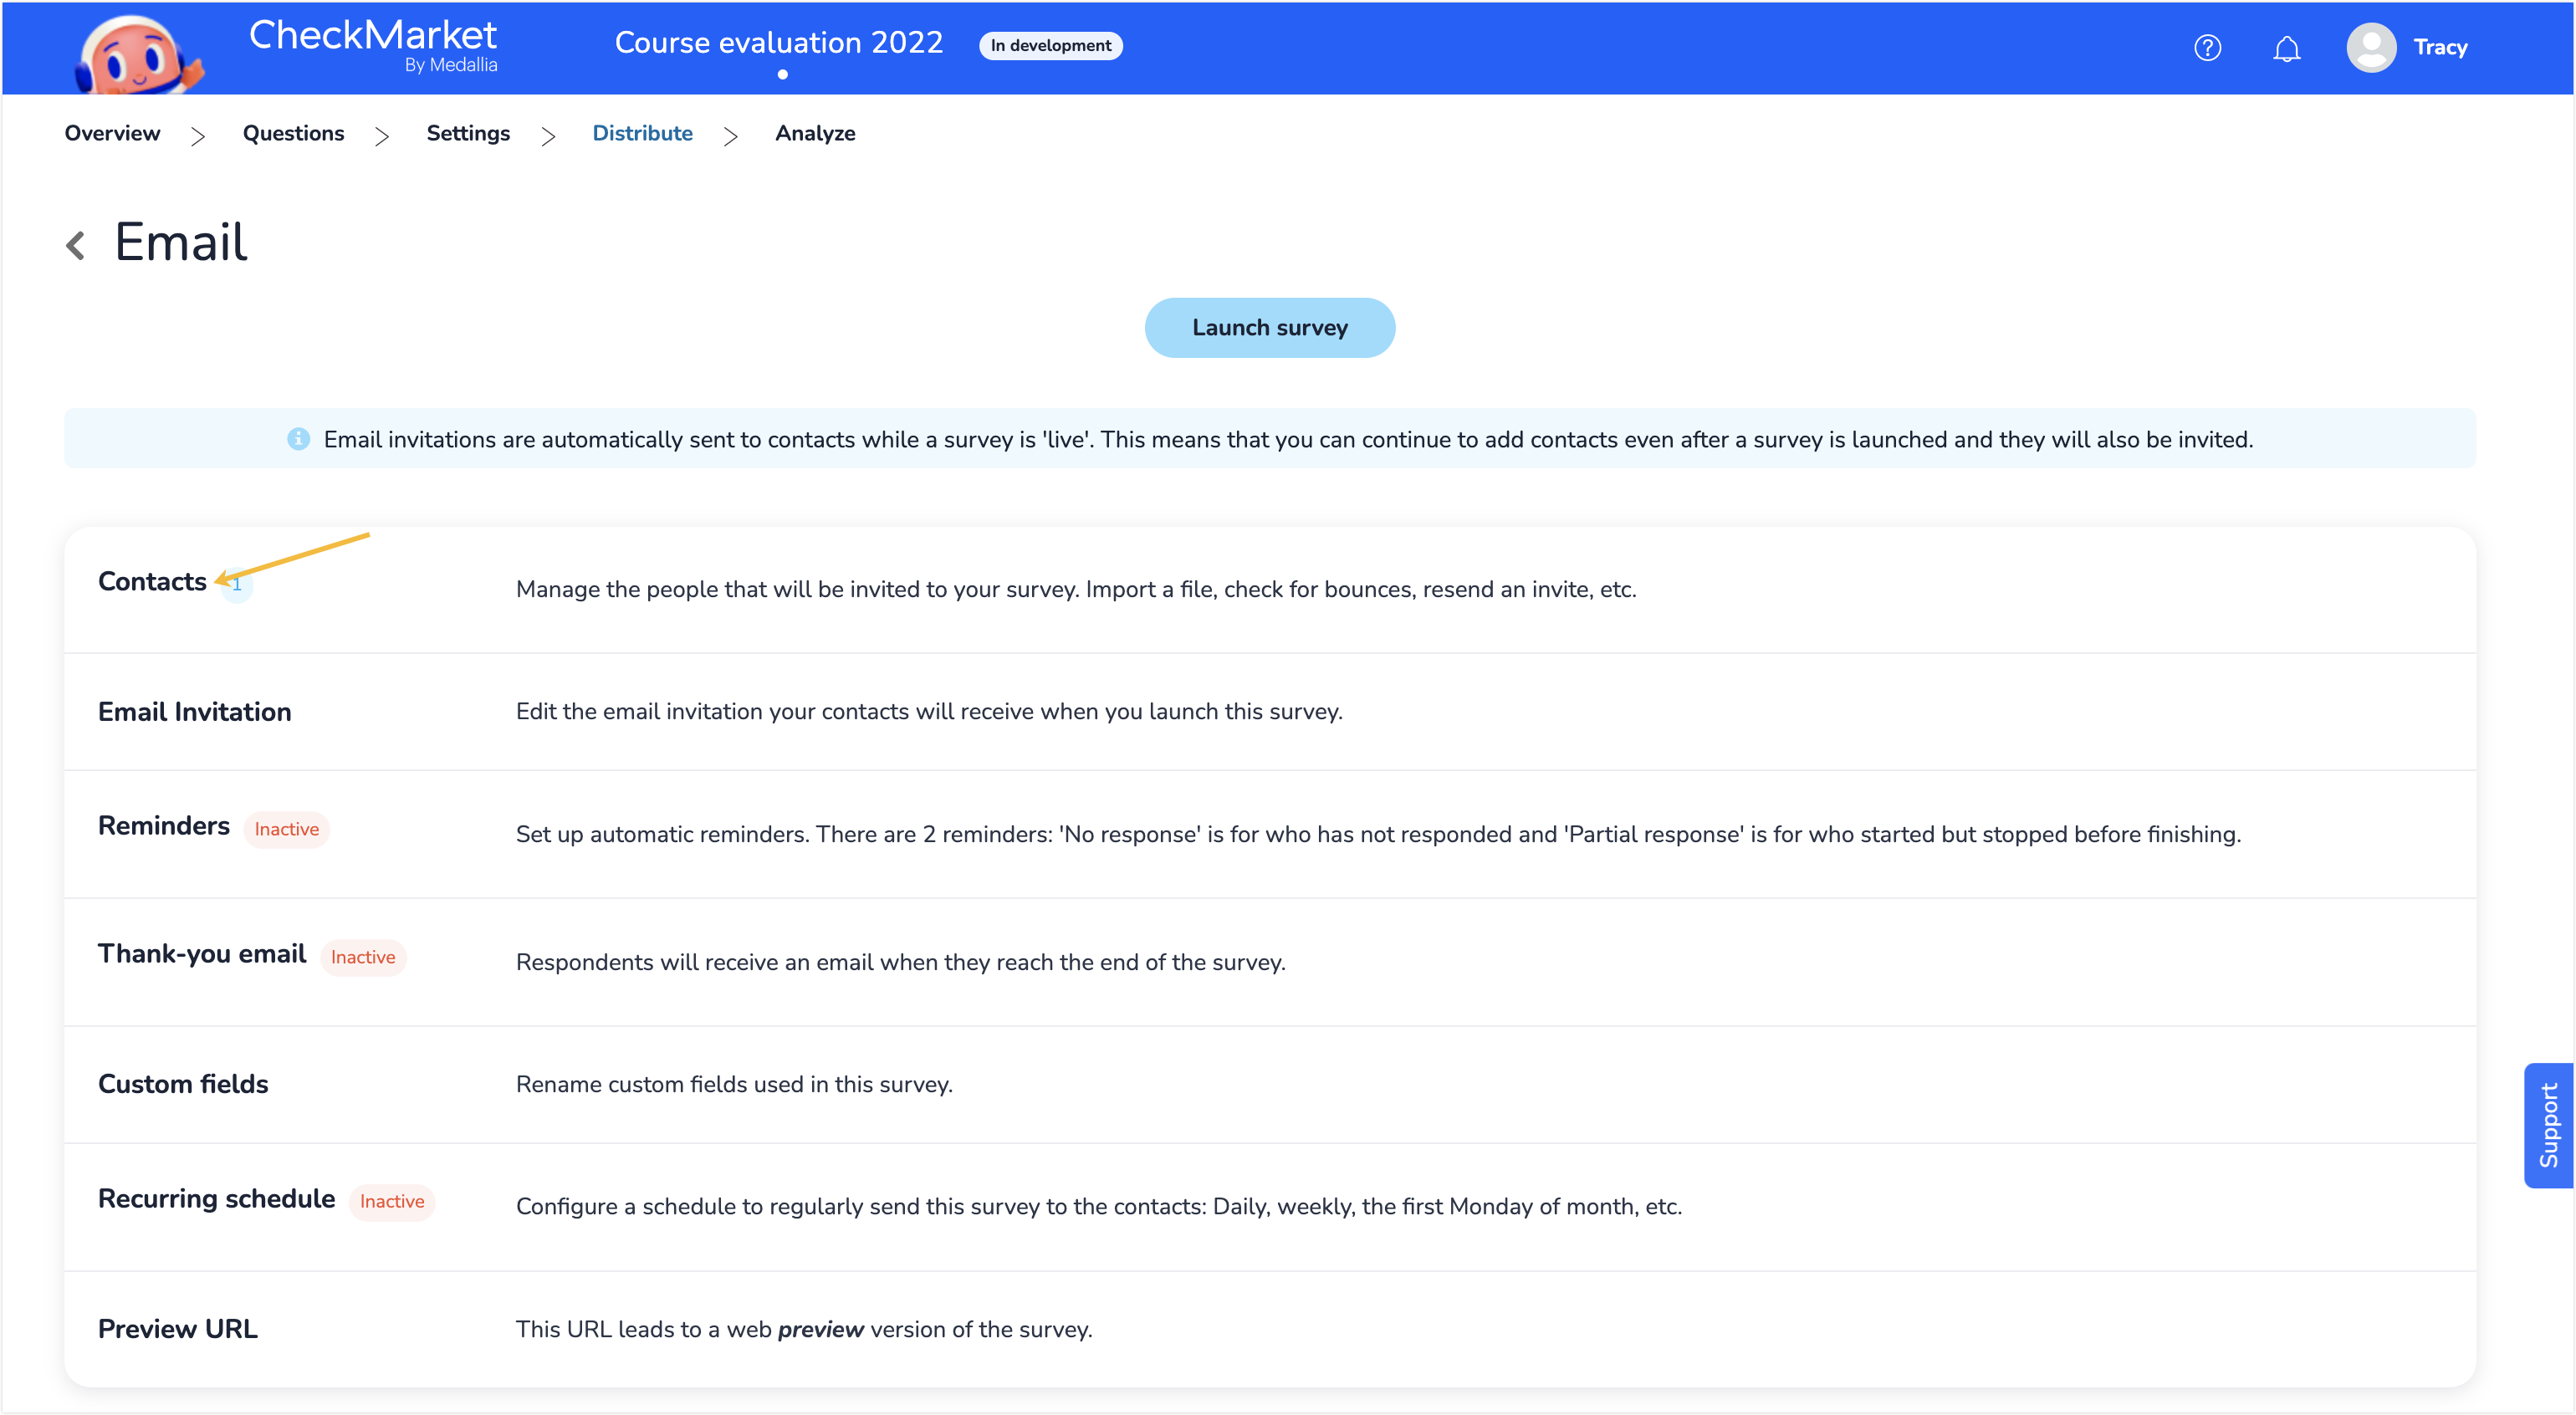
- For the contact for which you wish to set conditions, select Preview in the Survey URL column.

Having others test your survey
Those who don’t have access to CheckMarket can also test your survey before you launch it.
To do this, you can either send them the preview version URL; or, if you have email invitations via CheckMarket set up, you can send a preview version of the email invitation. Your colleagues can also fill out the survey pretending to be a certain contact.
Sending the URL of the survey preview version
Open your survey and click Preview in the top right corner of the page. A new tab will open with the preview version of the survey. Copy the URL from the browser’s address bar and send this link to your colleagues or clients.
If you have already selected a distribution channel, select Preview in the Survey URL column in your survey’s distribution overview (select the Distribute tab from the survey options menu). Copy this URL and send it to everyone who wants to test your survey.
If you have created a multilingual survey, the window will display separate links to each language as well as a link to the language selection page.
Sending a preview email invitation
If you send your email invitations via CheckMarket, you can send an example of the email invitation to others. This preview invitation will also contain a link to the preview version of your survey.
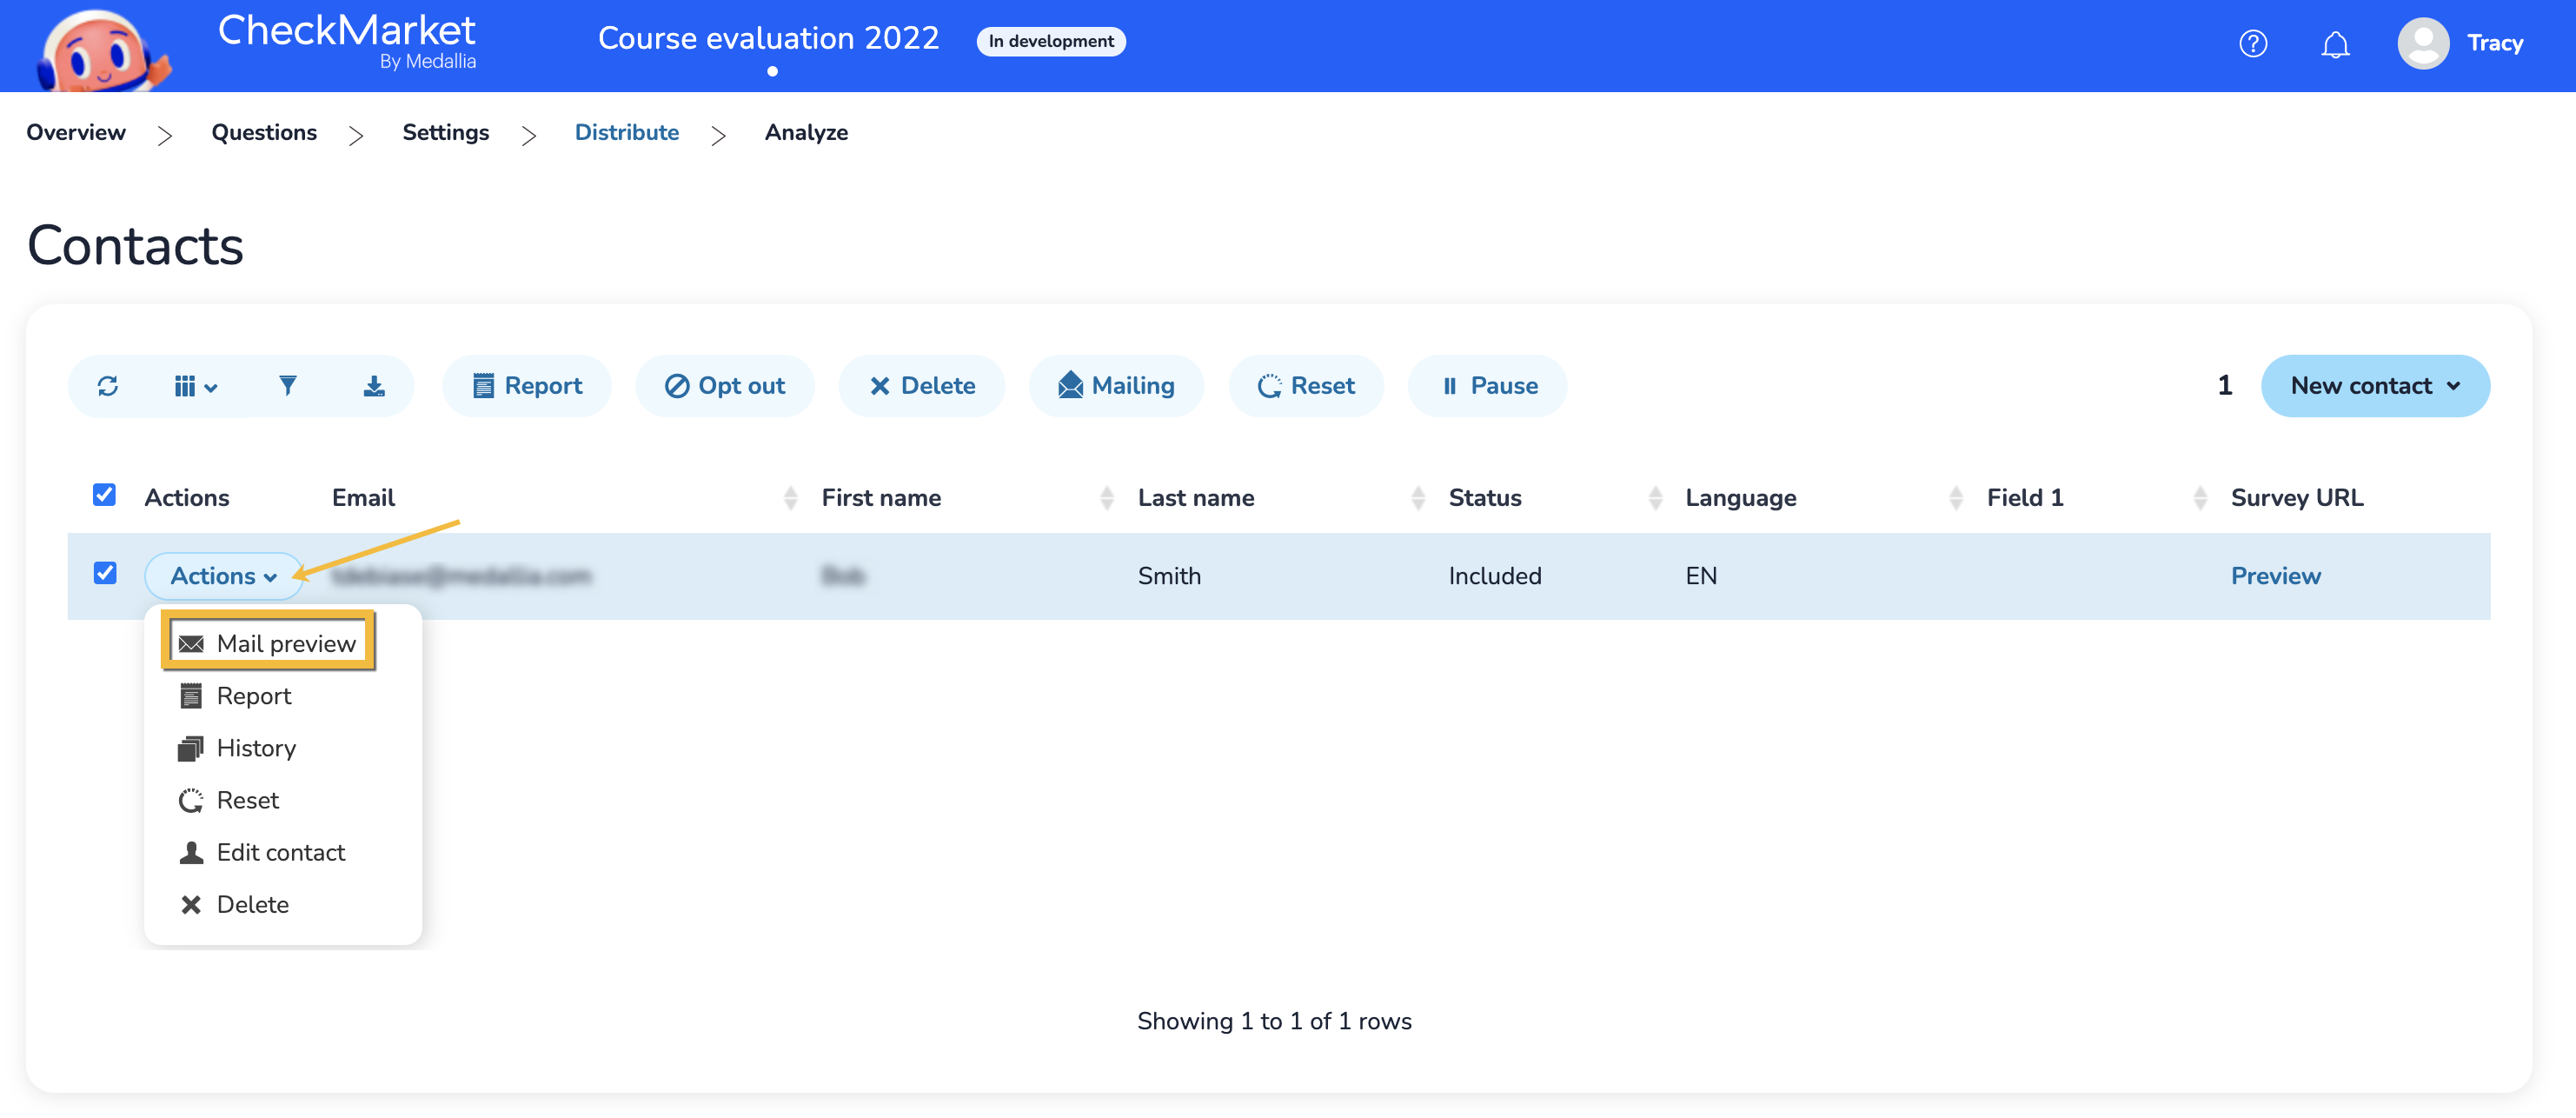
For the contact to whom you want to send a preview email invitation, select Mail preview from the Actions dropdown for that specific contact (see steps 1-3 in “Testing your survey pretending to be a contact” above for steps on finding a contact).
Having others test your survey pretending to be a certain contact
Others, too, can test your survey pretending to be a certain contact and can whether all logic and conditions based upon respondent fields are set up correctly.
Before proceeding with these steps, make sure you have added contacts to your survey that match the conditions added to your logic. As long as your survey isn’t live, they won’t receive an invitation.
This option is useful when you have branching or page display logic set up with conditions based on certain respondent field values.
- Complete steps 1-4 in “Testing your survey pretending to be a contact” above.
- Copy the URL in the address bar and send this to the person who needs to test your survey.
When you are absolutely sure that all is working as it should be and all questions and answer options are present, you can proceed with the steps required to launch your survey.
Related articles
- New user? Find your way around in 7 easy steps
- What is branching?
- What is page display logic?
- How do I launch my survey?
- What is a soft launch?
- How do I send an example of the email invitation?
- 7 tips for long surveys
- Multilingual survey best practices
- Link your own paid survey panel to a survey
- Buy a CheckMarket survey panel
Leave a Reply