You may not always have the email addresses of everyone you wish to invite to the survey. In that case use an invitation via paper. Put a link to the survey in this invitation so that they can still fill out the survey online.
You can either use 1 generic URL that’s the same for all recipients. In that case the survey will be anonymous (unless you ask for contact details), and you won’t be able to keep track of who’s already responded and who hasn’t.
Or you can combine the paper invitations with contacts so that each recipient receives a unique URL that can be used only once. When they start filling out the survey the contact status will change to “responded” so that you know who’s filled out the survey and who hasn’t. Additionally you can import other meta-data along with your contacts for future reporting purposes.
Activate the distribution channel
- Go to the survey for which you want to create a paper invitation.
- Click on Distribute and select Add/Remove channel.
- Select the option Via Paper. Here you have two additional options:
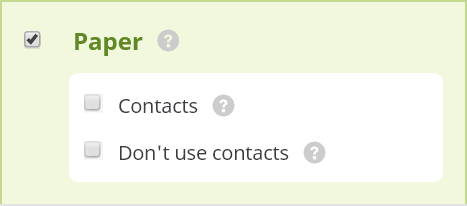
- Contacts: Tick this option in case you work with contacts.
- Non-contacts: tick this option in case you don’t work with contacts for this survey.
1. Via Paper – Contacts
Use the contact option if you wish to send a unique ID and password combination to each recipient. In this case all of the advantages of inviting contacts via CheckMarket also apply: you can verify the status in the contact overview, you can decide to send a reminder (via paper), you can import additional contact data in the contact that you can later report or filter on, …
In this case you’ll see three additional options in the Distribute overview:
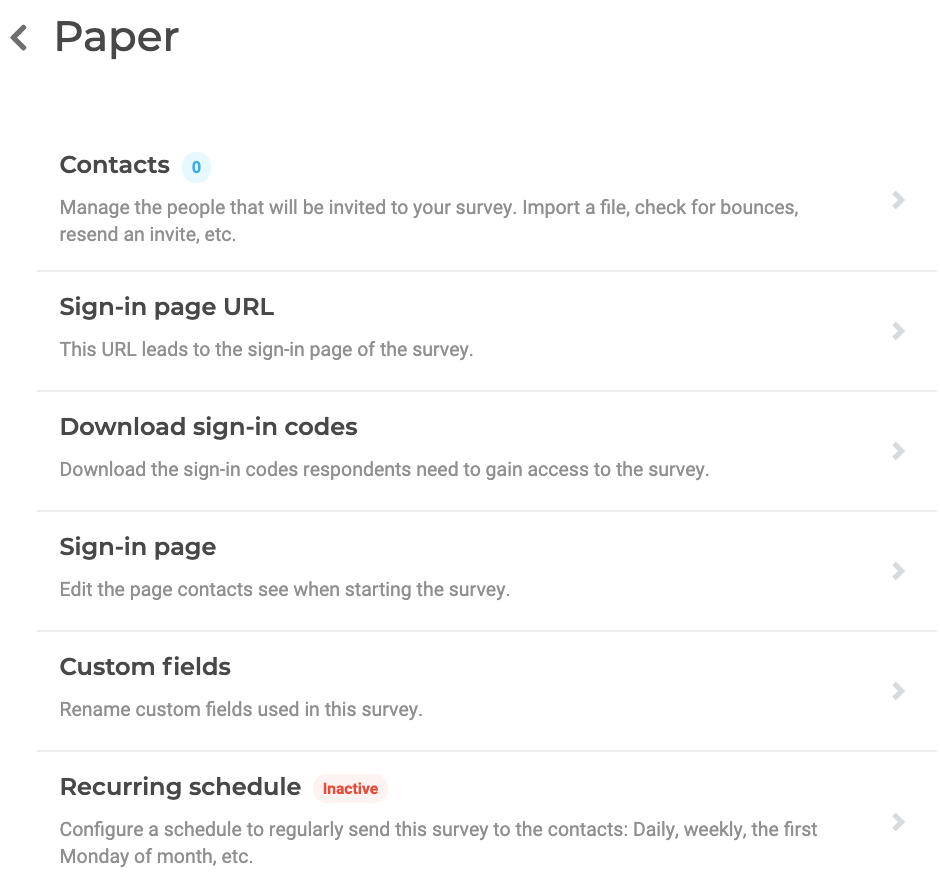
- Contacts: Manage the people that will be invited to your survey. Import your contacts along with all operational data needed for analyzing your results.
- Sign-in page URL: Set up the URL for the sign-in page for your contacts. this URL will be the same for everyone. The difference is made by the unique ID / password combination.
- Download sign-in codes: Download an excel file containing all of the sign-in codes for your contacts. Use this file for a mail-merge with Word to set up the invitations via paper.
- Sign-in page: Set up the lay-out and text of the sign-in page for your contacts.
- Custom fields: While importing contacts you can link up to 20 custom fields to any contact metadata that do not match any of the predefined fields
- Recurring schedule: Configure a schedule to regularly send this survey to the contacts: Daily, weekly, the first Monday of month, etc.
2. Paper – non contacts
The option Non-contacts is used to generate a generic URL that’s the same for all of your recipients. They will basically be anonymous (unless you ask for contact details in the survey). No additional filter options on contact data will be possible, unless you ask it in the survey.
In this case you’ll see three other options:
- Survey URL – via paper: Put this URL on your paper invitations. You can personalize this URL so that recipients can easily type it in their browser’s address bar.
- Manual input URL: if you’ve also distributed a paper version of the survey, you can use this URL to manually input survey forms you get back from respondents.
- Printable question form: A printer-friendly version of your survey (including all question options, logic and branching) for easy review. You can also use it as the basis for your paper survey.
Leave a Reply